Friday, July 27, 2012

Chassis update part 2

Jeff sent me a picture update on how the repairs on the Triumph were going and things are looking good.  I cannot wait to see the final results.


Monday, July 23, 2012

Chassis Update

Today I heard back from Jeff on the chassis and after coming back from sandblasting, they noticed 2 large rust holes and sizable dents on the outrigger part of the chassis.

Jeff offered services to straighten the bent mounts, cut out the rot, and fabricate new metal to patch the rust holes for $250, which I readily agreed to.  I figured that I was already getting the powdercoating done and this would make things look that much better...I've just got to ignore the fact that this will cost more than what I paid for the original car.


Tuesday, July 17, 2012

Off to powdercoat

Chassis strapped to Chris' truck for transport

This morning we dropped off the chassis at Central MASS Powder Coating to get powdercoated.  Jeff and company at Central MASS Powder Coating were super friendly and helpful in getting things squared away.  They took the time to explain and show what exactly would be done and helped me pick out "red baron" as the powdercoat color.  ("Red baron" is slightly brighter than the current chassis color, but when I'm done with the Triumph, I really want the car to stand out after all the time spent on it. :-) )
Leaving the chassis at Central MASS

Jeff also mentioned that if I emailed him a picture of any other car parts needing powdercoating, he'd send me a quote.  Given that the already restored suspension parts (that I had taken the time to sand and spray paint) are already chipping from moving them around the basement, I am considering taking him up on the offer.  At the same time, it feels like I'd be backtracking 2 years in my restoration effort to do this, but... long term, this would be the better thing to do.  (1 step forward, 2 steps back...)

The chassis should be ready in 1 - 2 weeks, so I'll post an after picture as soon as I can.


Monday, July 2, 2012

Awesome Triumph Engine Rebuild

Had to share this youtube video that Chris had found...  The video is comprised of 3000 pictures from an engine rebuild spanning 11 months!!

Great video...


Sunday, July 1, 2012

Ready for sandblasting and powdercoating

Back in spring, I had found and emailed a powdercoating company nearby about powdercoating the Triumph chassis.  Jeff at Central MASS Powder Coating in Clinton, MA emailed me back right away saying they could sandblast and powdercoat for ~$750.  The chassis just needed to be fully disassembled and basically degreased before I drop it off.  The shop would then sandblast, bake it out, mask all threads, and powdercoated with zink epoxy primer and then powdercoated with polyester taking about 1 week to do all this.  

Then work became busy again and summer weekends started to fill up, so I did not get a chance to ready the chassis for sandblasting and powdercoating until this weekend.  Despite the 90s temperature, the garage was bearable.  Chris helped to pull out the differential which came out pretty smoothly.  We used a jack to help support differential as the supporting bolts were removed and then a pry bar to dislodge the differential from the back mounts.


As for cleaning the chassis, I degreased years of dried, caked on grease with a can of degreaser, roll of paper towels, Q-tips (for those hard to reach places), and wire brushes.  I had started a bit of this previously but today I spent about 3 hours getting everything scrubbed. At the end of all this, I was covered from head to toe with grease bits that looked like freckles on my skin and had a mess of paper towels, Q-tips, and grease bits on the plastic tarp I lined the garage floor with before starting. 


Cleaning the chassis = the messiest I've been since this project started...

This used to be covered in grease...


Wednesday, April 25, 2012

These Brakes Need a Brand New Pair of Shoes

Picture post...

When the brake shoe pads fall off during removal of the brake drum, it is time for a new pair of shoes.

A side by side comparison of a restored rear brake assembly and unrestored rear brake assembly
.

So much easier the second time around

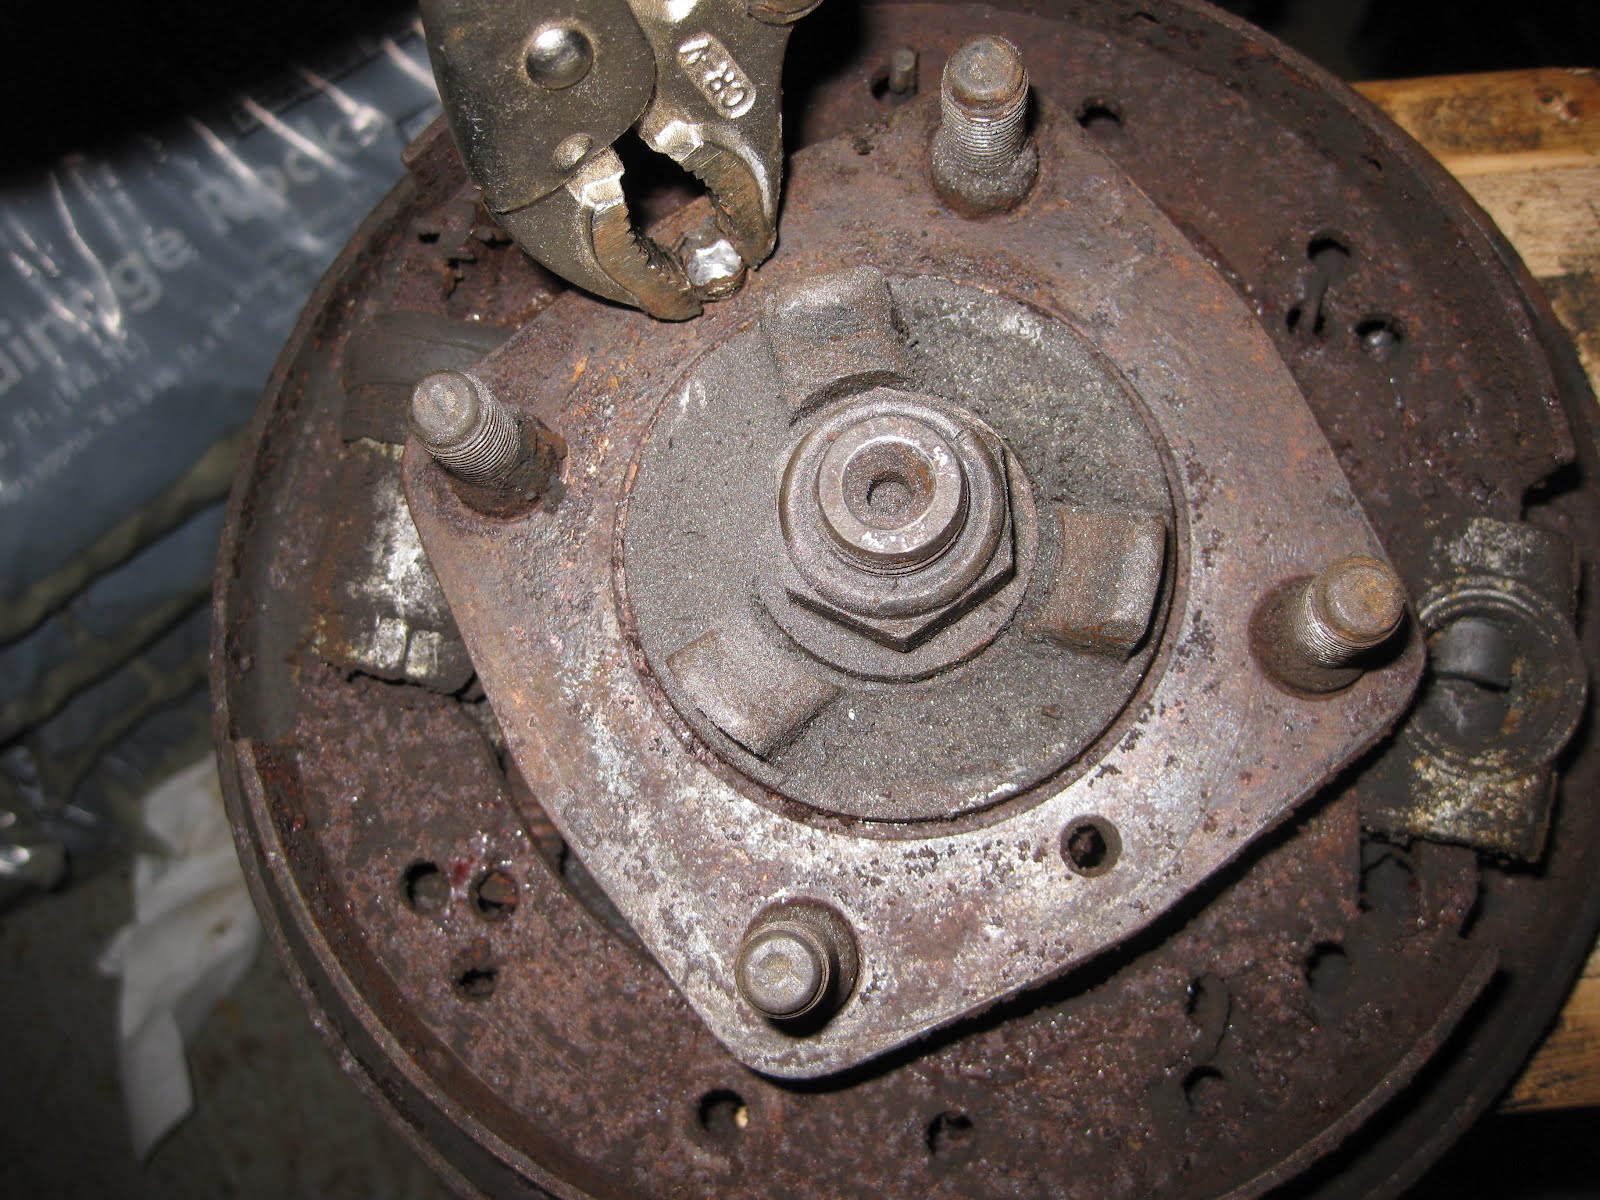
I'm happy to say that a task that had taken me 2+ weeks the first time around only took 30 minutes the second time. Progress was halted for 2 weeks the first time I tried to figure out how to remove a brake drum with a stuck brake drum screw. After going through the pains the first time, I realized the best way was to grind out the flared screw head using a Dremel. This would also etch the brake drum, but as I would be replacing the brake drum anyways, this was fine.

The screw holding the brake drums in place is actually a pretty soft metal. So after grinding most of the flared screw end out, pulling out the brake drum with the puller did the rest. All that was left to do afterwards was to use vice grips to remove the rest of the screw.

Caption: Using vice grips to remove the remaining screw end