Back in spring, I had found and emailed a powdercoating company nearby about powdercoating the Triumph chassis. Jeff at Central MASS Powder Coating in Clinton, MA emailed me back right away saying they could sandblast and powdercoat for ~$750. The chassis just needed to be fully disassembled and basically degreased before I drop it off. The shop would then sandblast, bake it out, mask all threads, and powdercoated with zink epoxy primer and then powdercoated with polyester taking about 1 week to do all this.
Then work became busy again and summer weekends started to fill up, so I did not get a chance to ready the chassis for sandblasting and powdercoating until this weekend. Despite the 90s temperature, the garage was bearable. Chris helped to pull out the differential which came out pretty smoothly. We used a jack to help support differential as the supporting bolts were removed and then a pry bar to dislodge the differential from the back mounts.
As for cleaning the chassis, I degreased years of dried, caked on grease with a can of degreaser, roll of paper towels, Q-tips (for those hard to reach places), and wire brushes. I had started a bit of this previously but today I spent about 3 hours getting everything scrubbed. At the end of all this, I was covered from head to toe with grease bits that looked like freckles on my skin and had a mess of paper towels, Q-tips, and grease bits on the plastic tarp I lined the garage floor with before starting.
Cleaning the chassis = the messiest I've been since this project started...
This used to be covered in grease...
This blog follows my trials and errors in restoring a 1968 Triumph Spitfire, starting with a limited knowledge of cars. Hopefully, I'll be a pro by the end of this, or at least somewhat competent. ;-)
Sunday, July 1, 2012
Wednesday, April 25, 2012
These Brakes Need a Brand New Pair of Shoes
Picture post...
When the brake shoe pads fall off during removal of the brake drum, it is time for a new pair of shoes.
A side by side comparison of a restored rear brake assembly and unrestored rear brake assembly
.
When the brake shoe pads fall off during removal of the brake drum, it is time for a new pair of shoes.
A side by side comparison of a restored rear brake assembly and unrestored rear brake assembly
.
So much easier the second time around
I'm happy to say that a task that had taken me 2+ weeks the first time around only took 30 minutes the second time. Progress was halted for 2 weeks the first time I tried to figure out how to remove a brake drum with a stuck brake drum screw. After going through the pains the first time, I realized the best way was to grind out the flared screw head using a Dremel. This would also etch the brake drum, but as I would be replacing the brake drum anyways, this was fine.

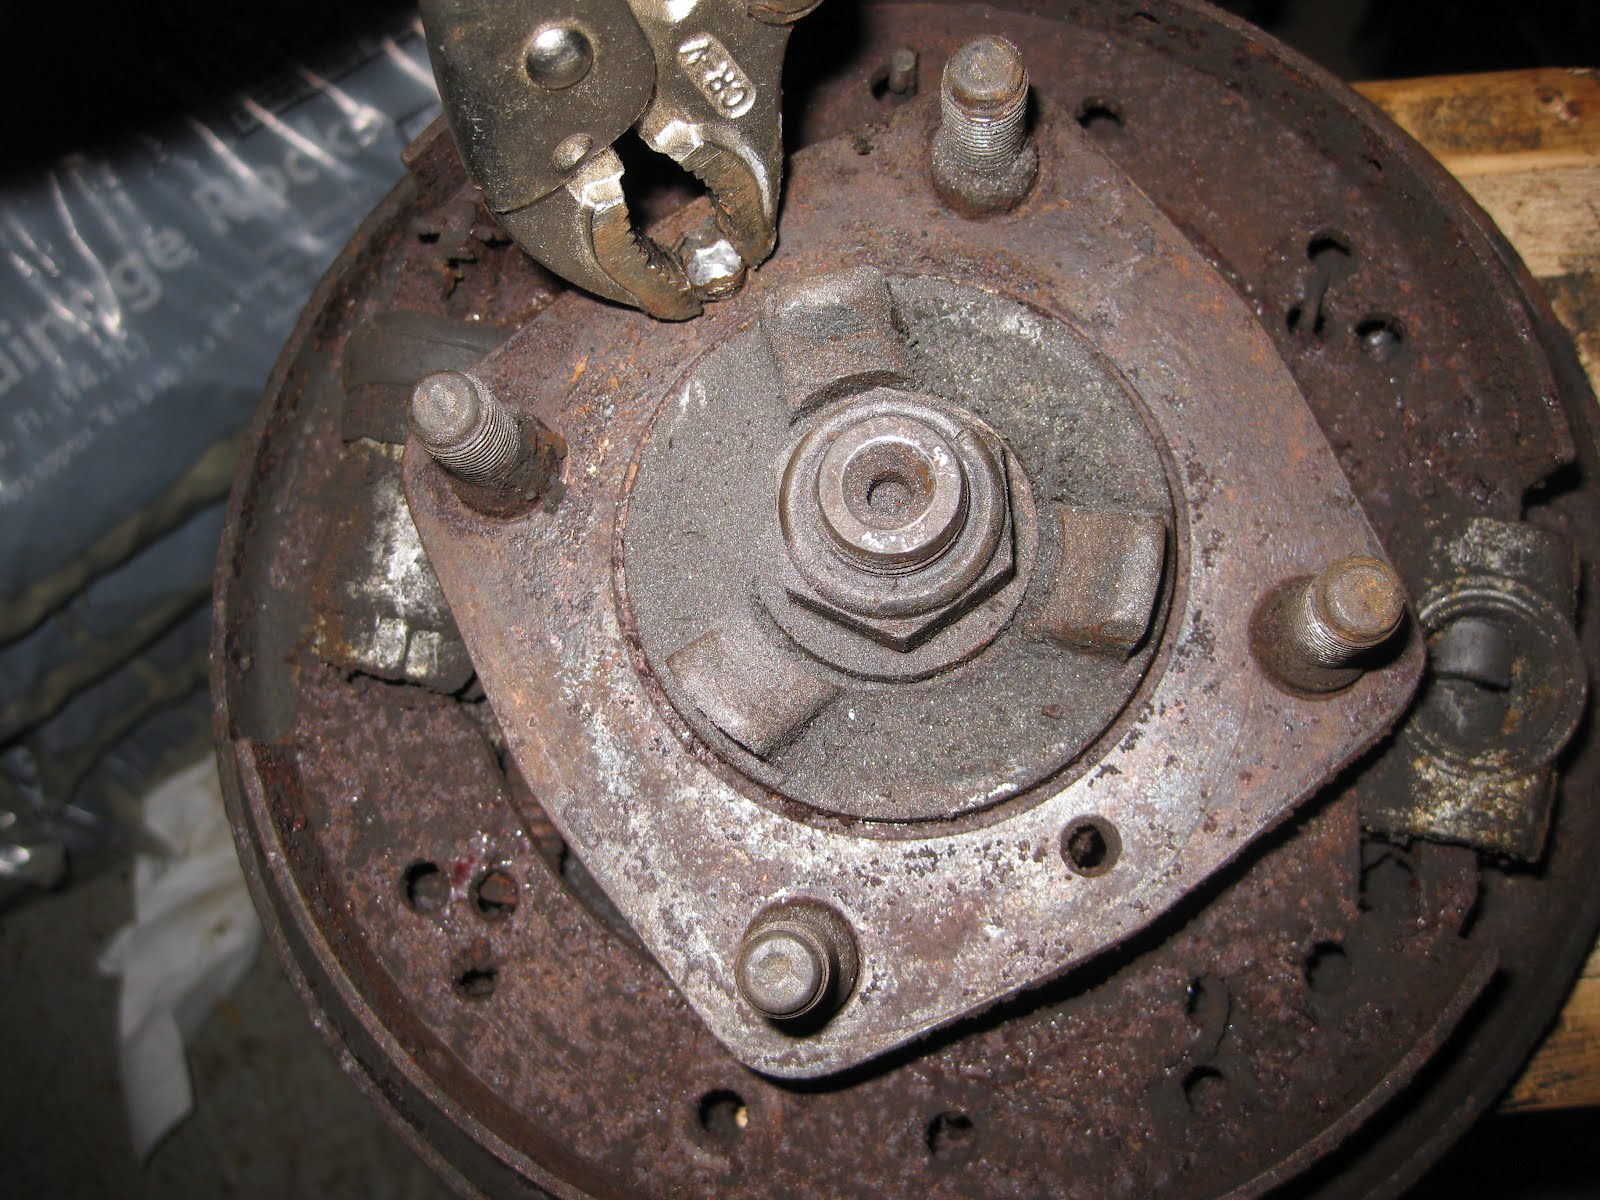
The screw holding the brake drums in place is actually a pretty soft metal. So after grinding most of the flared screw end out, pulling out the brake drum with the puller did the rest. All that was left to do afterwards was to use vice grips to remove the rest of the screw.
Thursday, April 19, 2012
Pictures
Adding some pictures...
Back view of rear assembly. (restored assembly on right)

Picture of unrestored assembly...quite filthy. Everything is caked in grease so it is not too rusty.

Picture of unrestored assembly...quite filthy. Everything is caked in grease so it is not too rusty.
I've also mastered the order in which bolts and parts should be removed and am down to the axle and drum by itself. Start by removing the radius arm and then vertical link to axle bolt. Having to break through the rust and filth, it took about 30 minutes to disassemble. (The vertical link to axle bolt was pretty corroded on the thread end making the nut removal difficult.)
Wednesday, April 18, 2012
Before and after rear assembly
The new seal (picture of new seal and old seal is to the right) was easy to install and could easily be pushed in. Most of the remaining rear assembly components were easy to install except for when it came to wedging the radius arm into the vertical link. After the poly bushing is installed in the radius arm, there is hardly enough space to get it in position on the vertical link. Chris ended up taking a piece of wood to pry enough space in the vertical link arm hinge to get the radius arm in place. After that, we had to coax the bolt through the radius arm end since it was a tight fit and finally got through what would be the most difficult part of the night.
Then after getting everything in place, I realized I forgot to put a washer on the bolt that sits behind a vertical link/radius arm joint. (ugh) So we pried out the bolt then the radius arm and undid the bolt to install the washer. Reattaching the radius arm was much easier the second time around and now we are finally done with one of the rear assemblies.
Below shows the restored assembly with the brake drum absent (on left) with the unrestored assembly (on right).
Monday, April 16, 2012
Drum brakes ain't easy...
It took a bit of picture digging and diagram studying to remember how everything fit together. It was clear on how to put most things back together as it fit well in a certain order or position. My d'oh moment of the night was when I forgot to put the key shaft (small metal piece that holds the hub and shaft in place) in the shaft before driving the hub down. Forgetting to do so and having tightened the hub down, I had to take out the hub puller and re-pull out the hub. (To see how to do this correctly the first time, skip to 7 min. 50 sec. in the youtube video posted on December 30, 2011.)
Putting in the brake components was a bit tricky as force and shuffling was required to squeeze everything in to place. Having Chris help me with this part definitely made things easier as one person could hold things in place while the other pushed and pull springs and other parts. Also, it helped to have another person to brainstorm ideas on how to put the pieces together. We learned that springs should go on early since they are on the undersides of the shoes, found it easier to put springs in place on the drums first and then position the drums, and that the shoe hold down washer/spring kit is more conveniently installed when using a wrench.
For the shoe hold down kit, in order to get the pin and washer aligned properly, we used the closed end of a wrench to push the washer and spring down while spinning the pin from underneath to lock at a 90 degree angle. The wrench opening allowed us to have a clear view to make sure we got the 90 degree angle. (Below: Chris using the wrench to push down the spring.)
There are still a few more things to put together on the rear assembly and then after that there is the driver rear assembly that needs to be restored. Almost one down and still another to go...(I'm a bit off track from my winter goal to be complete with both assembly units.)
Tuesday, April 10, 2012
Piece of cake
I put the shop press to test by swapping out the rusted and worn out wheel studs with new studs. From start to finish, this task only took 5 minutes with the new press. The press worked great and got the job done.


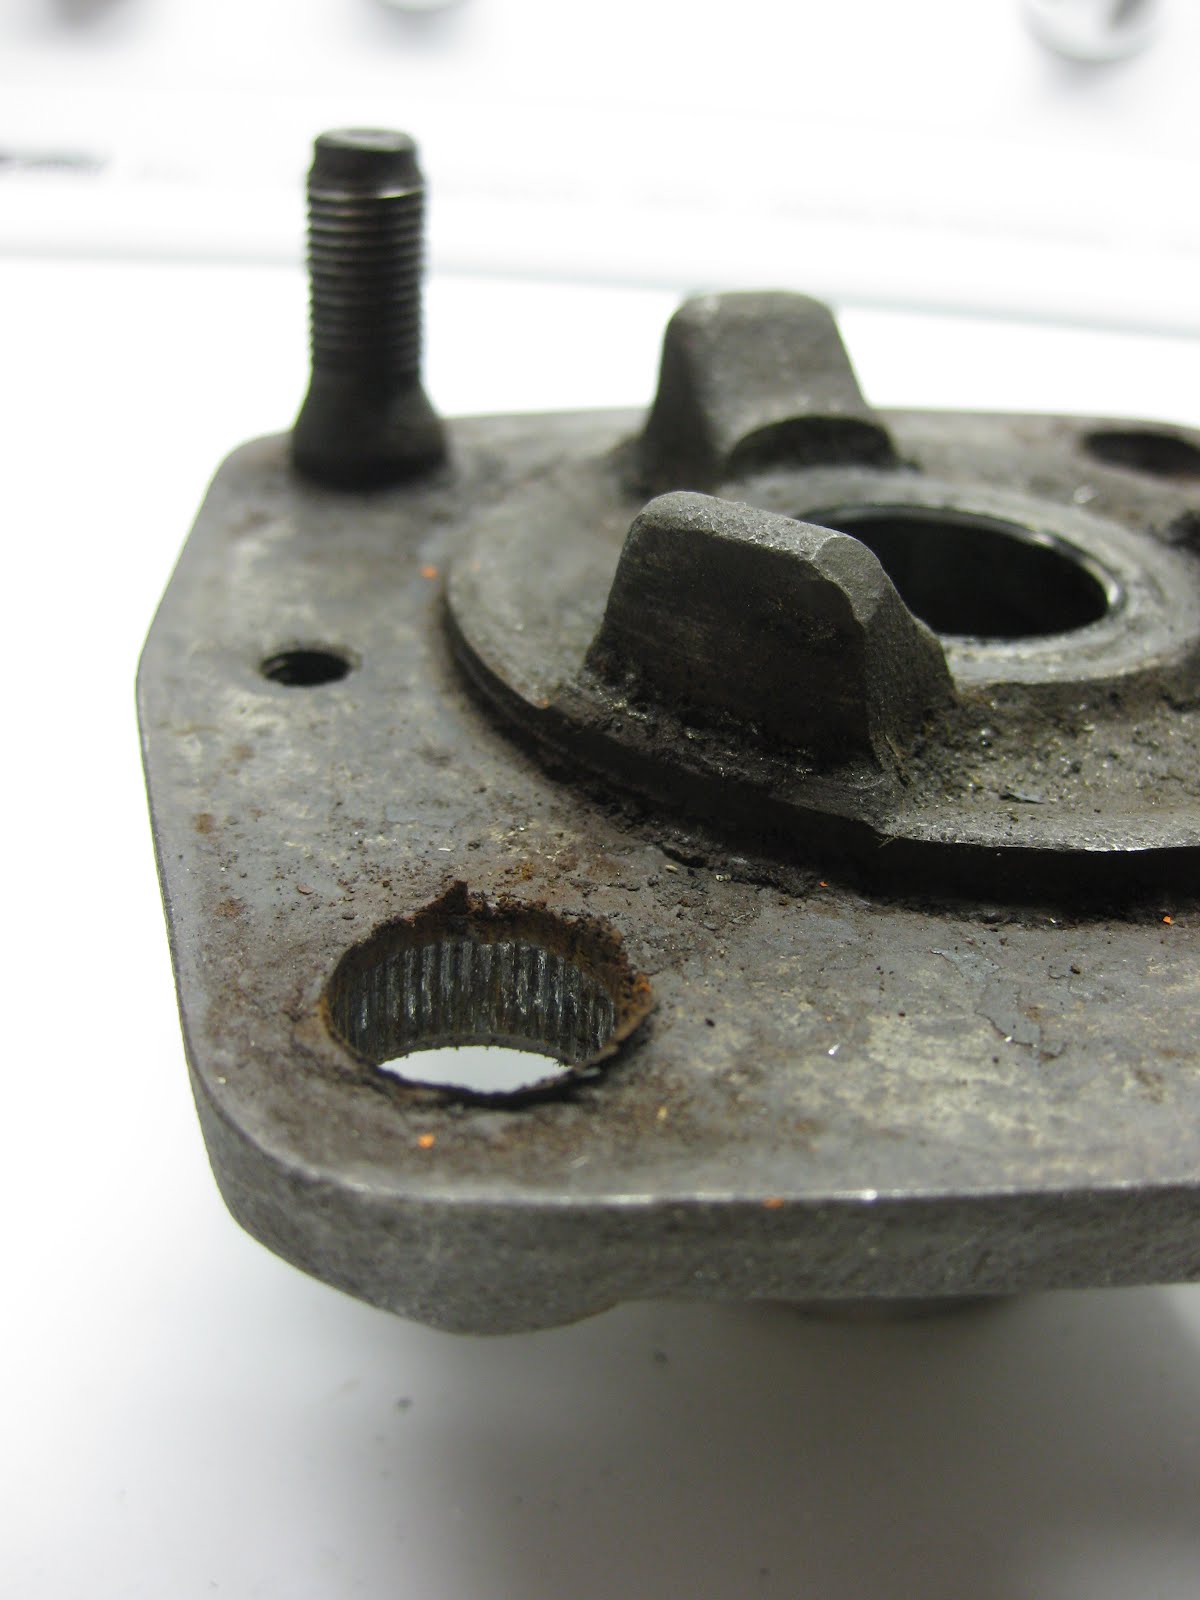
To support the extraction (and later insertion) of the studs, I used sockets to support the surrounding area under pressure by the press. The studs came out smoothly with the exception of one stud that had become rusted on over the years and came out with a loud bang. Insertion of studs was just as easy.
This picture shows the rust and grime from the stud that came out with a bang.
With new wheel studs all in place...
Subscribe to:
Posts (Atom)